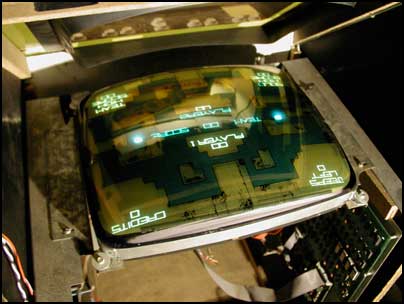

I had my Armor Attack running for a few hours a couple of days ago. As I walked by I heard the circuit breakers click and the game shut off. I unplugged the game and reset the breakers. After plugging it back in and turning it on I saw the game was playing, but the image on the monitor was crushed into a thin horizontal area that looked something like the image above. Then the circuit breakers blew again.
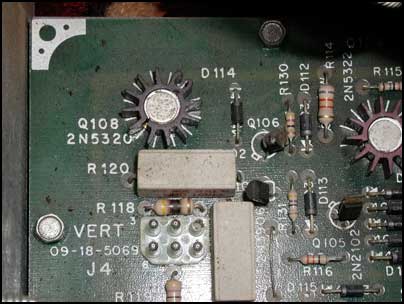
I looked back at the monitor only to see a puff of smoke coming from resistor R118. One of the vertical deflection transistors had gone bad and caused R118 to fail. This problem is common on Cinematronics vector games.
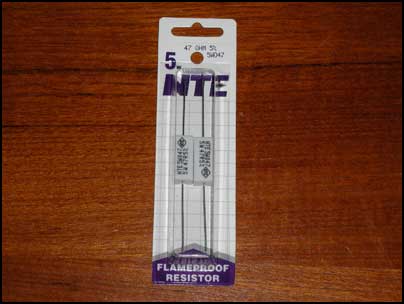
After reviewing the Cinematronics Guide, I bought a few 47 Ohm, 5w resistors to replace the burnt .5w resistor at R118. For the transistors, I looked for the replacement suggested by The Cinematronics Vector Monitor FAQ and Repair Guide.
Here is a description of the complete replacement procedure:
In preforming these modifications, there are many opportunities for harm to yourself or your equipment. You make these modifications at your own risk.
Replacement parts needed:
2- 47 Ohm, 5w resistors
2- Transistors
Tools needed:
Screwdrivers
Soldering Iron, Sucker, and Solder
Digital Multimeter (if you want to test the old transistors)
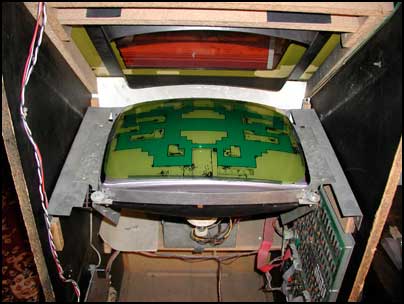
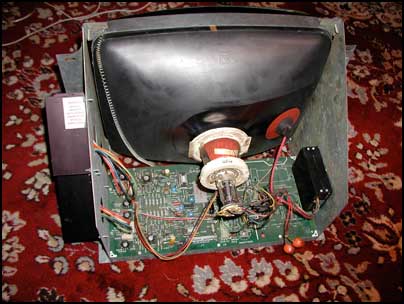
Removing the monitor from the cabinet
2. Remove the ribbon cable from the back of the monitor, noting its orientation when plugged into the monitor. It can be plugged in backwards which can cause damage to the monitor.
3. Remove the Molex power cable from the monitor. It is keyed and should only plug in one way.

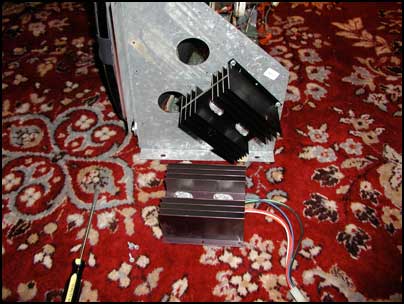
Replace the deflection transistors
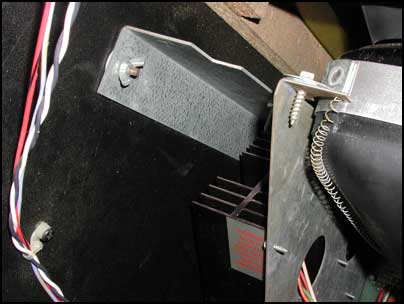
2. Unscrew the deflection transistors with their heat sink from the monitor frame.
3. You will need to replace both transistors, but can test to see which is bad using the "Testing Transistors" section in the The Cinematronics Vector Monitor FAQ and Repair Guide.
4. Unscrew the each transistor and pull them from their socket. Remove both transistor and the plastic spacer.
5. Replace each with the plastic spacer and appropriate transistor, note that the vertical and horizontal deflection transistors are in the opposite locations on the heat sink.
6. Test to verify proper installation.
7. Feed Molex plug back through monitor frame and re-attach heat sink to monitor frame.
8. Plug Molex plug back into the appropriate socket on the monitor chassis PCB.
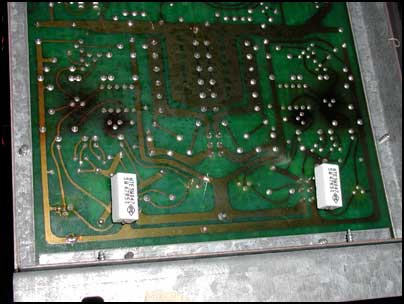
Replacing resistor R118 & (optionally) R218
Replace the monitor in the cabinet
2. Attach the screws holding the monitor to the frame.
3. Plug in the Molex power cable from the monitor. It is keyed and should only plug in one way.
4. Plug in the ribbon cable to the back of the monitor in its proper orientation.
6. If all looks well, turn the game back off and raise the monitor so that the holes in the monitor brackets line up with the holes in the sides of the cabinet. Slide in the carriage bolts to hold the monitor in place and screw on the wing nuts on the corner of the bracket the holds the monitor frame.